Part 2
Now having the basic idea in my head sorted, work started........
We wanted to be able to have a fixed normal floor level bed, which wasn't possible with it's current layout of overcab bed.
Another aim was to use as much recycled materials I could reuse or source locally.
Seemed logical to extend the floor space, move the front mounted bed. The old conversion was set up with a workshop and storage area behind the rear barn doors with the bathroom forward of that. Kitchen midships and lounge forward under hinged down bed.
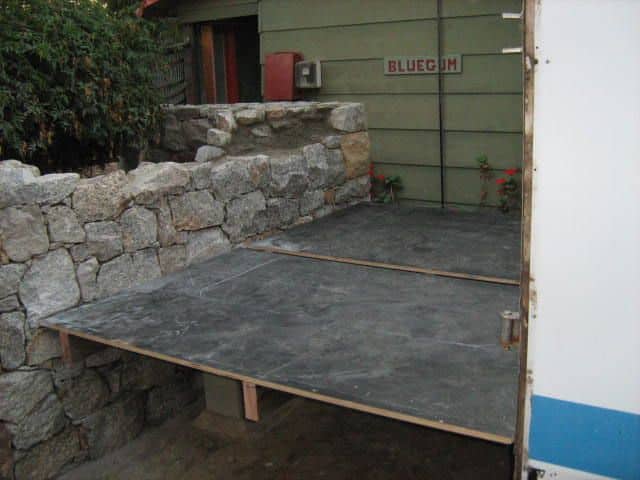
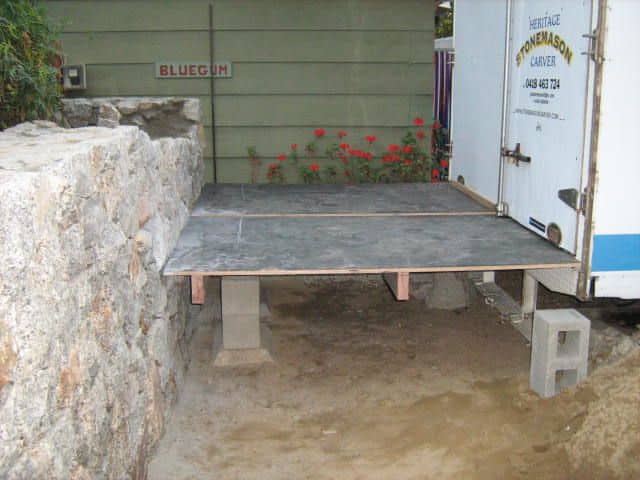
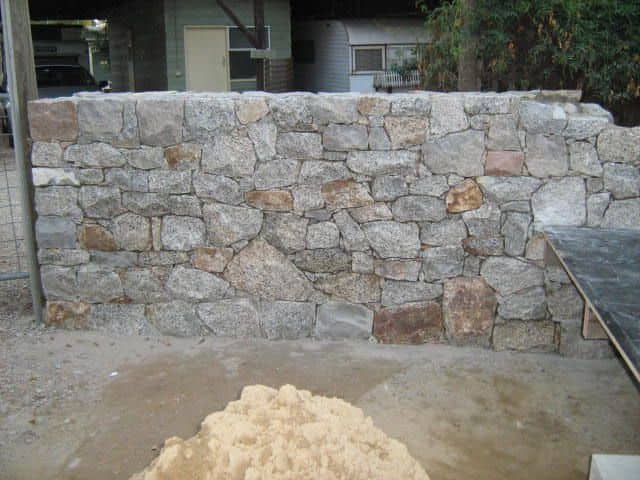
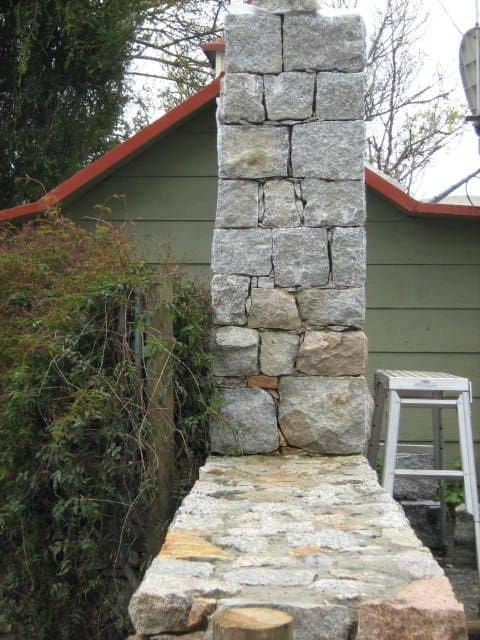
The new bedroom would be located at the rear where the workshop area was. I could build a timber frame floor level out from the back barn doors and keep them fitted during the construction to keep it watertight. The freestanding granite wall would act as a boundary wall for us, as well as the internal feature wall for the little bedroom. Another plus was it acted as a thermal wall during summer as it was directly in line with the setting summer sun.
Leaving little openings in the wall (putlocks) received the beams ends to tie the floor in.
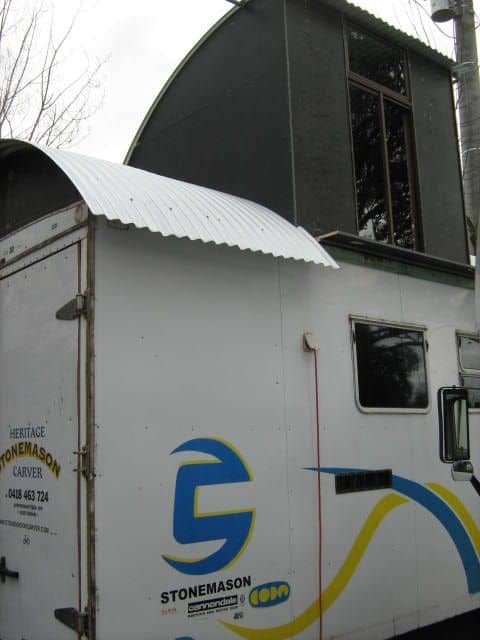
As I casually built the wall between other jobs. We wanted to have a rounded roof and little observation (tea) room which as previously stated, looked towards Mt Buffalo. The top platform and shape was basically 18mm formply as it was strong and didn't need extra finishing, a couple of local demolition windows used. Next I ordered the curved Zincalume roof sheets at (12ft) 3.6mt span to allowing for an overhang. it was handy still having the old cab chassis to pick it up.
Long demo Oregon 4" X 2" timber lengths were screwed to the outside top edge of the sides so the curved roofing cound be then screwed down to it. At 900m intervals a formply bulkhead was installed crossways to add strength to the curve.
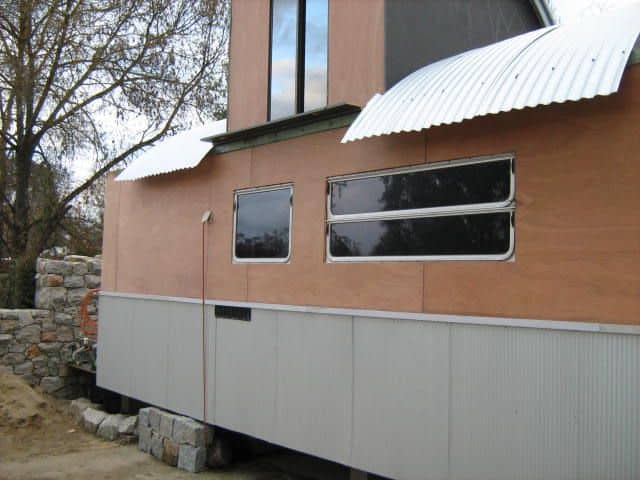
A new cladding was decided upon using thin marine ply simply sanded and coated in Deks Olje (a traditional marine tung oil coating) which acts like spar varnish and can handle dry summers here. Best of all it doesn't need stripping down every time a re coat is applied.
I had plenty from the boat.
The cladding needed an air gap so it was best affixed with more CD ply battens stood off the original cargosheet cladding I used 10 years previous.
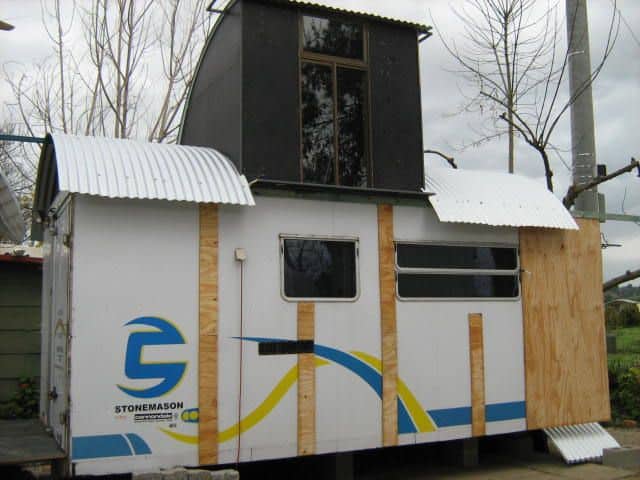
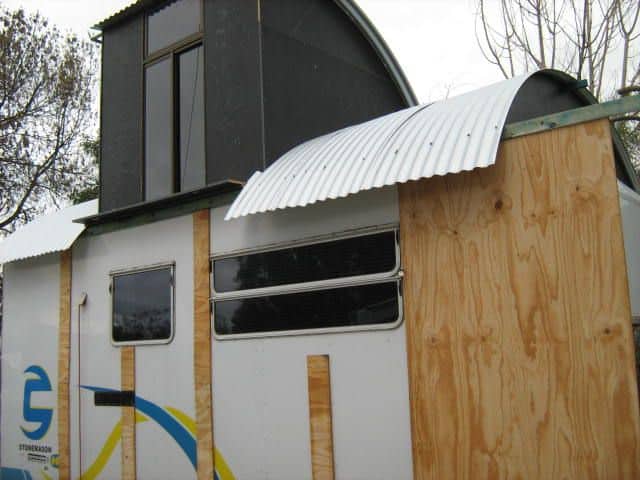
Work progressed nicely on the top section ply coatings as they were big (8 X 4) 2440 x 1220mm pieces. Timber boxing around the caravan type windows was necessary to allow for a recessed look and I couldn't be bothered pulling windows out and reinstalling them.
The bottom cladding would be mini orb sheeting from the same local steel suppliers and just a matter of tek screwing them on.
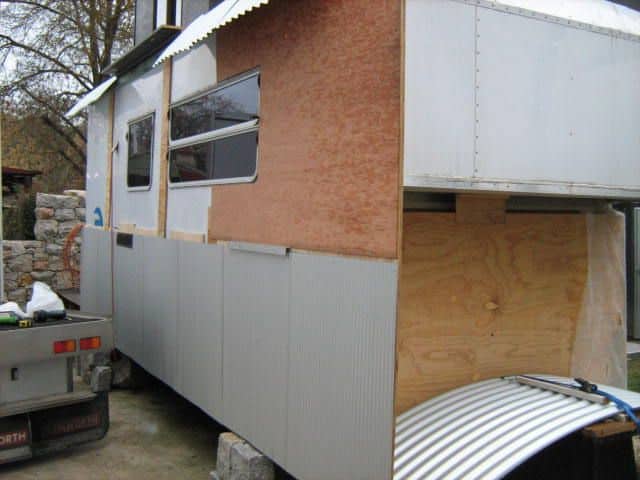
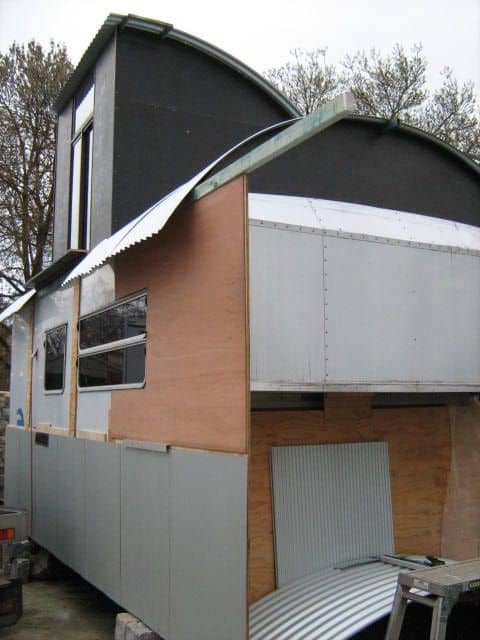
It was back down to the demo yard to find a steel ?? belt line joiner between top and bottom cladding. Aluminium U in long lengths was the decider (due to price mainly.)
The freestanding bedroom wall grew as this was taking shape.
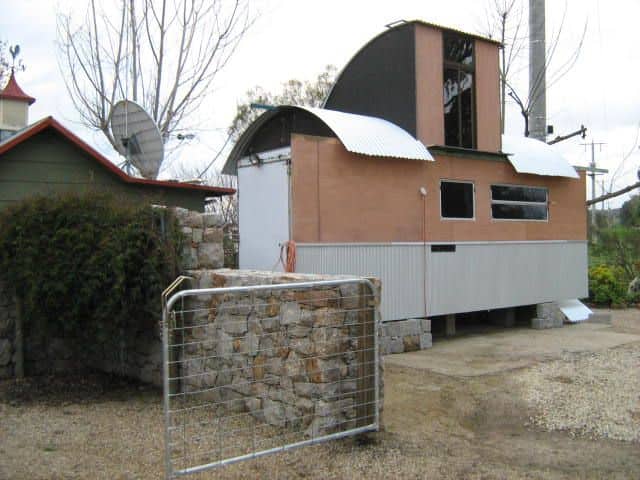
With most of the cladding done in the middle now it was time to work out the ends. The front needed a porch and doorway, while the back needed a roof spanning back to the stonework.
see you for part 3. for the ramshackle cheap ar*e cabin.